技术文章:帝国CMS仿熊猫办公源码PPT文档下载模板整站源码免费下载 带优采云采集
优采云 发布时间: 2022-10-30 11:22技术文章:帝国CMS仿熊猫办公源码PPT文档下载模板整站源码免费下载 带优采云采集
一套完整的PPT网站带数据源代码可以是采集.zip
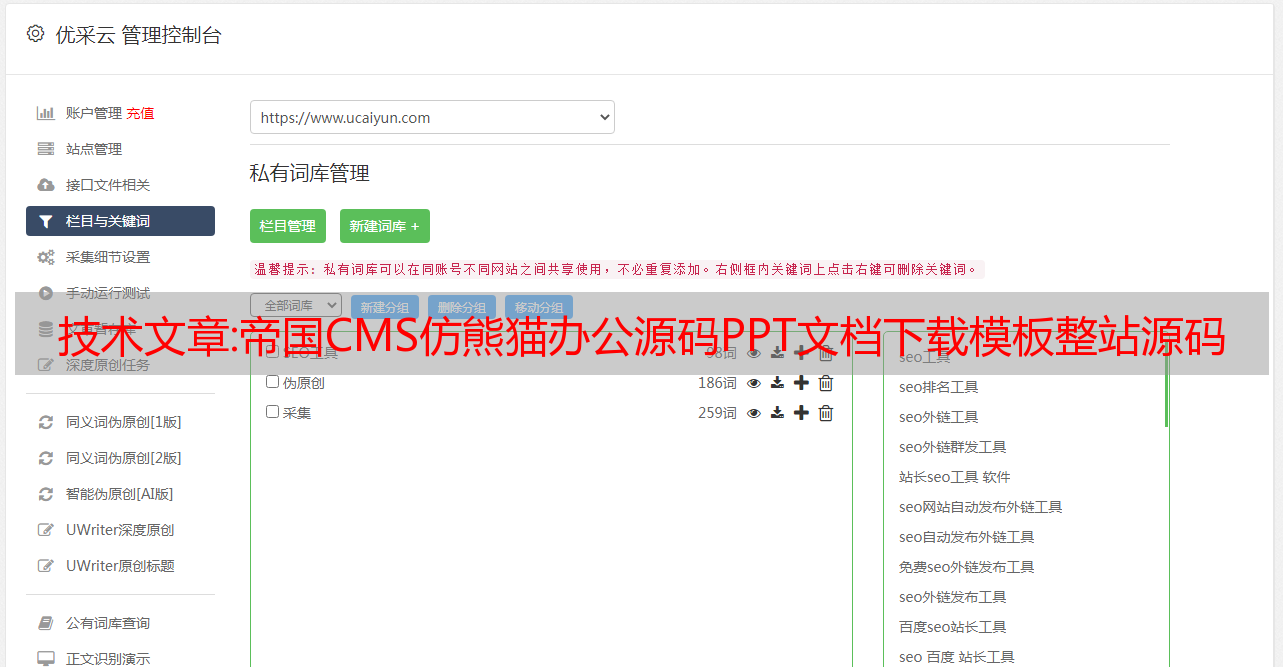
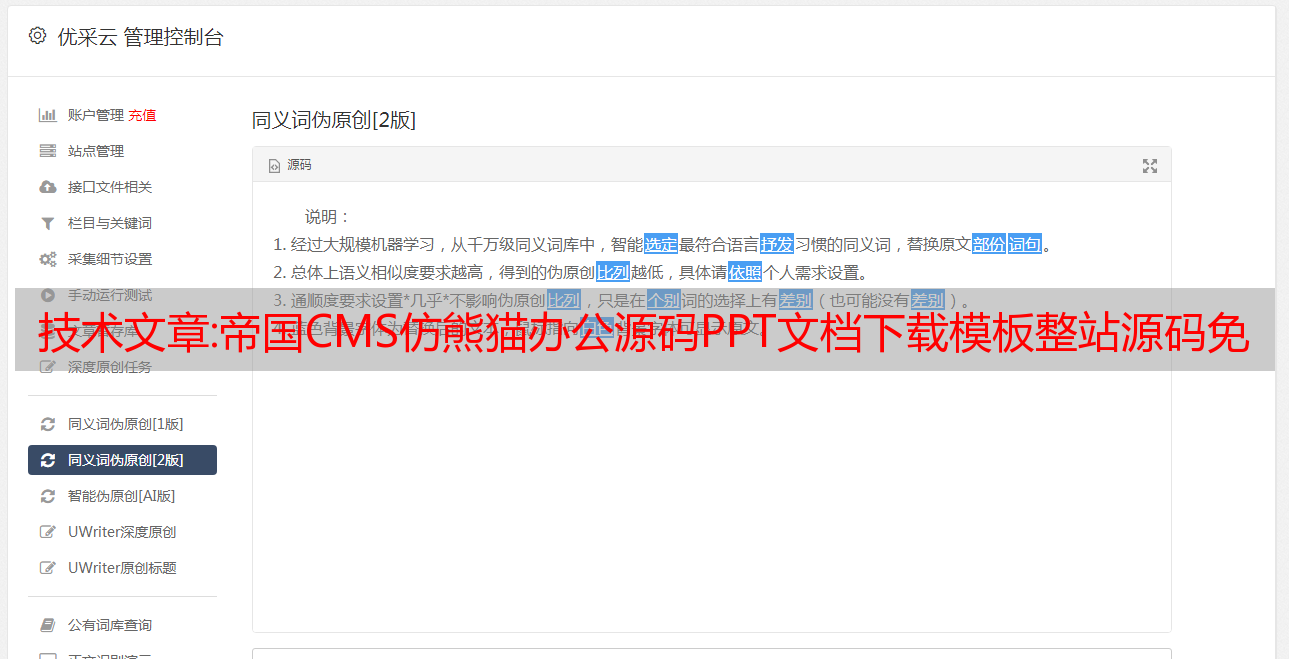
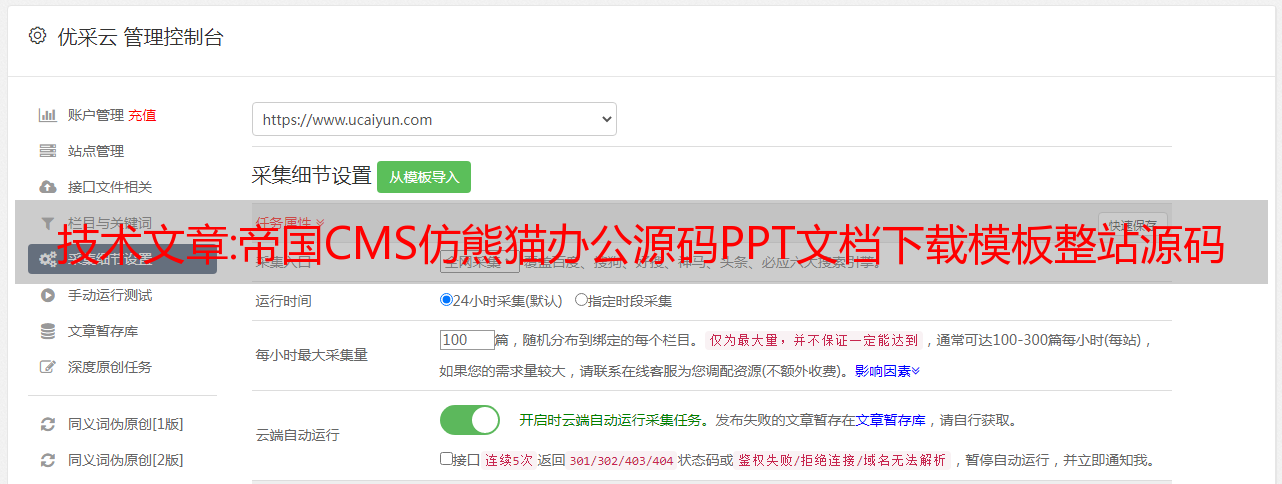
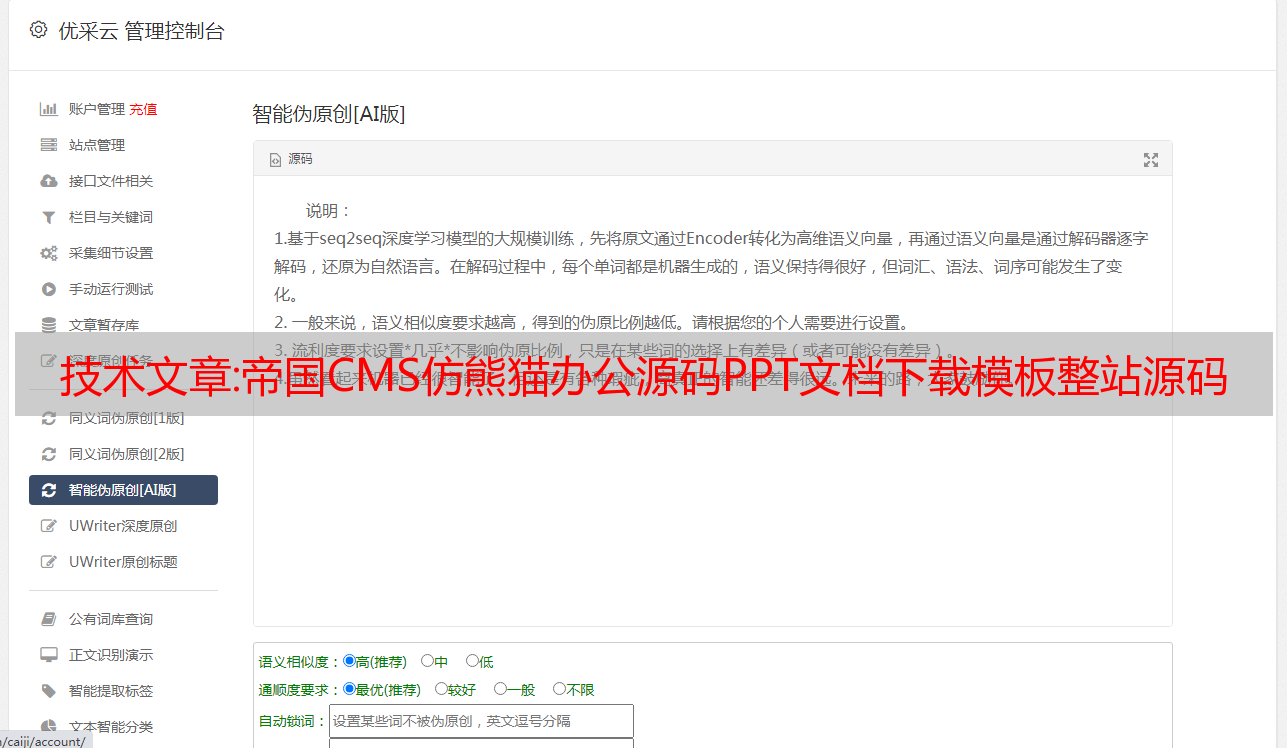
修复版的熊猫办公源码是全站完整的PPT源代码(包括手机版有会员制和资料可以采集)这个模板刚出来的时候我同事发的对我来说,我买的时候看起来还不错。本来打算做一个PPT办公素材网站,但是没打算分享!不幸的是,计划并没有迅速改变。我买了一个多星期,真的没有时间。之后还有其他事情要做,只好来回发来看看有没有自己喜欢的一套源码模板,直接带一个插件。我们一起分享了一些数据,一起下载了大约500M。对了,最后阿三源码的站长提供了一套采集 软件和规则。一起下载。很高端的PPT模板,图片素材下载站模板非常适合大型图库下载站,配备手机模板,支持自定义设置会员群,支持支付宝微信扫码开通VIP,支持每日下载次数限制,支持QQ、微信登录界面。支持优采云data采集,api数据回调,更具体的功能就不一一介绍了,用过Empirecms的朋友更了解Empire的强大!安装教程,网站安装包附配置教程 配备手机模板,支持自定义设置会员群,支持支付宝微信扫码开通VIP,支持每日下载次数限制,支持QQ、微信登录界面。支持优采云data采集,api数据回调,更具体的功能就不一一介绍了,用过Empirecms的朋友更了解Empire的强大!安装教程,网站安装包附配置教程 配备手机模板,支持自定义设置会员群,支持支付宝微信扫码开通VIP,支持每日下载次数限制,支持QQ、微信登录界面。支持优采云data采集,api数据回调,更具体的功能就不一一介绍了,用过Empirecms的朋友更了解Empire的强大!安装教程,网站安装包附配置教程
现在下载
安全解决方案:ELK+filebeat采集java日志
前言
这文章是我的 ELK 日志系统在生产中的记录,主要是采集 Java 日志,开发者可以通过 kibana 网页找到相关主机的指定日志;对于Java日志,filebeat已经做了多行合并,过滤行处理,更准确的访问所需的日志信息,关于ELK系统的介绍,这里不再赘述。
更多信息可以在官方网站查询中找到:
弹性搜索:
罗格斯塔什:
木花:
文件节拍:
环境主机服务类型主机名内存服务
ES1
测试机
32克
Elasticsearch、logstash、kibana
ES2
926产品
8G
弹性搜索
ES3
Replmysql
4G
弹性搜索
网络1
模板-CentOS7
16克
文件节拍
网络2
模板-CentOS7
16克
文件节拍
ELK 使用版本 6.4.3,下载地址在以下版本中提供。三个 elasticsearch 设置集群处理和可靠传输。Logstash 和 Kibana 构建在同一台服务器上,资源足以不影响服务。两台 Web 服务器是生产环境中的主机,安装了 Filebeat 软件以采集日志数据并将其传输到 logstash 服务器。
步骤 1:设置主机
[root@test-machine /root]#cat /etc/hosts
127.0.0.1 localhost localhost.localdomain localhost4 localhost4.localdomain4
::1 localhost localhost.localdomain localhost6 localhost6.localdomain6
192.168.1.146 testmachine
192.168.1.60 926prod
192.168.1.62 replmysql
[root@test-machine /root]#scp /etc/hosts 926prod:/etc/hosts
[root@test-machine /root]#scp /etc/hosts replmysql:/etc/hosts
2. 安装 javaJDK
JDK 版本 1.8 或更高版本
[root@test-machine /root]#yum -y install java
[root@test-machine /root]#java -version
openjdk version "1.8.0_191"
[root@926prod /root]#yum -y install java
[root@926prod /root]#java -version
openjdk version "1.8.0_191"
[root@replmysql /root]#yum -y install java
[root@replmysql /root]#java -version
openjdk version "1.8.0_191"
3. 安装 Elasticsearch(三台机器的操作相同)。
下载 - 安装 - 启动服务
[root@test-machine ~]#curl -L -O https://artifacts.elastic.co/downloads/elasticsearch/elasticsearch-6.4.3.tar.gz
[root@test-machine ~]#tar -xvf elasticsearch-6.4.3.tar.gz
[root@test-machine ~]#mv elasticsearch-6.4.3 /usr/local/
[root@test-machine ~]#useradd elasticsearch
[root@test-machine ~]#cd /usr/local/elasticsearch-6.4.3/
[root@test-machine bin]#chown -R elasticsearch:elasticsearch /usr/local/elasticsearch-6.4.3/
修改配置文件:
[root@test-machine /root]#grep -v "^#" /etc/elasticsearch/elasticsearch.yml
cluster.name: sunaw-cluster
node.name: test-machine
path.data: /var/lib/elasticsearch
path.logs: /var/log/elasticsearch
network.host: 192.168.1.146
discovery.zen.ping.unicast.hosts: ["testmachine", "replmysql", "926prod"]
http.enabled: true
http.cors.enabled: true
http.cors.allow-origin: "*"
# 注意node.name、network.host字段,三台机填入各自的名字和ip地址
启动服务:
[root@test-machine bin]#su elasticsearch
[elasticsearch@test-machine bin]$nohup ./elasticsearch &
[elasticsearch@test-machine bin]$exit
[root@test-machine ~]#ss -ntulp | grep -E "9200|9300"
tcp LISTEN 0 128 127.0.0.1:9200 *:* users:(("java",pid=27279,fd=190))
tcp LISTEN 0 128 127.0.0.1:9300 *:* users:(("java",pid=27279,fd=183))
※在 Elasticsearch 启动过程中,您可能会遇到以下问题:
最大虚拟内存区域 vm.max_map_count [65530] 太低,至少增加到 [262144]
解决:
[root@test-machine /root]#sysctl -w vm.max_map_count=262144
[root@test-machine /root]#vim /etc/sysctl.conf
vm.max_map_count=262144
启动后,您可以在浏览器中查看服务状态和集群状态:
:9200
:9200/_cluster/健康?漂亮,观察到状态为“绿色”,节点数为“3”,表明三个 Elasticsearch 形成了一个集群。
4. 安装头部插件
头部插件安装,
只需要在一台机器上安装,ES5.0 上面不支持插件安装,所以这里笔者启动一个服务来安装 head 插件。
安装节点.js环境:
[root@test-machine /root]#wget https://nodejs.org/dist/v10.13.0/node-v10.13.0-linux-x64.tar.xz
[root@test-machine /root]#tar -xf node-v10.13.0-linux-x64.tar.xz -C /usr/local/
<p>
[root@test-machine /root]#vim /etc/profile
……
export NODEJS_HOME=/usr/local/node-v10.13.0-linux-x64
export PATH=$PATH:$NODEJS_HOME/bin
[root@test-machine /root]#source /etc/profile
[root@test-machine /root]#npm -v
6.4.1
</p>
安装头部插件:
[root@test-machine /root]#git clone https://github.com/mobz/elasticsearch-head
[root@test-machine /root]#cd elasticsearch-head/
[root@test-machine /root]#chown -R elasticsearch:elasticsearch /root/elasticsearch-head/
[root@test-machine /root]#npm install -g grunt-cli
[root@test-machine /root]#npm install
[root@test-machine /root]#npm install phantomjs-prebuilt@2.1.16 --ignore-scripts
[root@test-machine /root]#nohup grunt server &
[root@test-machine /root]#ss -ntulp | grep 9100
tcp LISTEN 0 128 *:9100 *:* users:(("grunt",pid=26754,fd=18))
头插件*敏*感*词* 9100
端口,浏览器访问:9100 可以看到连接到 ElasticSearch 集群的副本的状态
5. 安装日志存储
logstash 安装,只需安装在一台机器上:
[root@test-machine /root]#wget https://artifacts.elastic.co/downloads/logstash/logstash-6.4.3.rpm
[root@test-machine /root]#yum -y install logstash-6.4.3.rpm
编辑配置文件以测试是否可以将信息传递到 ElasticSearch 中
[root@test-machine /root]#vim /etc/logstash/logstash.conf
input{
stdin{}
}
output{
elasticsearch{
hosts => ["192.168.1.146:9200","192.168.1.60:9200","192.168.1.62:9200"]
}
stdout { codec => rubydebug }
}
指定启动logstash服务的配置文件,启动服务后直接在终端中输入测试信息,然后按回车键:
[root@test-machine /root]#/usr/share/logstash/bin/logstash --config.test_and_exit -f /etc/logstash/logstash.conf
Sending Logstash logs to /var/log/logstash which is now configured via log4j2.properties
[2018-11-21T11:57:23,564][WARN ][logstash.config.source.multilocal] Ignoring the 'pipelines.yml' file because modules or command line options are specified
Configuration OK
[2018-11-21T11:57:27,561][INFO ][logstash.runner ] Using config.test_and_exit mode. Config Validation Result: OK. Exiting Logstash
[root@test-machine /root]#/usr/share/logstash/bin/logstash -f /etc/logstash/logstash.conf
……
[2018-11-21T11:50:11,976][INFO ][logstash.agent ] Pipelines running {:count=>1, :running_pipelines=>[:main], :non_running_pipelines=>[]}
[2018-11-21T11:50:12,268][INFO ][logstash.agent ] Successfully started Logstash API endpoint {:port=>9600}
测试————肓己
您可以在终端中看到输出信息:
您可以在头部插件中看到信息:
6. 安装 Kibana
Kibana 安装,一台机器安装就足够了:
[root@test-machine /root]#wget https://artifacts.elastic.co/downloads/kibana/kibana-6.4.3-x86_64.rpm
[root@test-machine /root]#yum -y install kibana-6.4.3-x86_64.rpm
修改配置文件
[root@test-machine /root]#vim /etc/kibana/kibana.yml
[root@test-machine /root]#grep -v "^#" /etc/kibana/kibana.yml | grep -v "^$"
server.port: 5601
server.host: "0.0.0.0"
elasticsearch.url: "http://192.168.1.146:9200"
kibana.index: ".kibana"
kibana.defaultAppId: "discover"
elasticsearch.pingTimeout: 1500
elasticsearch.requestTimeout: 30000
elasticsearch.startupTimeout: 5000
启动服务:
[root@test-machine /root]#systemctl start kibana
[root@test-machine /root]#systemctl status kibana
● kibana.service - Kibana
Loaded: loaded (/etc/systemd/system/kibana.service; disabled; vendor preset: disabled)
Active: active (running) since Thu 2018-11-15 16:19:40 CST; 5 days ago
Main PID: 24972 (node)
CGroup: /system.slice/kibana.service
└─24972 /usr/share/kibana/bin/../node/bin/node --no-warnings /usr/share/kibana/bin/.....
启动服务后,Kibana *敏*感*词* 5601 端口,访问:5601 可在浏览器中配置和管理
设置索引:
设置索引后查看数据:
7. 安装文件节拍
在两个 Web 主机上安装 Filebeat,编辑配置文件,并且不要启动该服务。
虚拟主机 1:
[root@template-centos7 /root]#curl -L -O https://artifacts.elastic.co/downloads/beats/filebeat/filebeat-6.4.3-x86_64.rpm
[root@template-centos7 /root]#yum -y install filebeat-6.4.3-x86_64.rpm
[root@template-centos7 /root]#vim /etc/filebeat/filebeat.yml
[root@template-centos7 /root]#grep -v "#" /etc/filebeat/filebeat.yml |grep -v "^$"
filebeat.inputs:
<p>
- type: log
enabled: true
paths:
- /data/logs/sunaw_czd/czd.log
document_type: czd-log
fields:
tag: czdtest
logtype: czdtest
exclude_lines: [".*c.b.mybatisplus.mapper.SqlHelper.*"]
multiline.pattern: '^\s*(\d{4}|\d{2})\-(\d{2}|[a-zA-Z]{3})\-(\d{2}|\d{4})'
multiline.negate: true
multiline.match: after
filebeat.config.modules:
path: ${path.config}/modules.d/*.yml
reload.enabled: false
setup.template.settings:
index.number_of_shards: 3
setup.kibana:
output.logstash:
hosts: ["192.168.1.146:5044"]
</p>
虚拟主机 2:
[root@926-test /root]#grep -v "#" /etc/filebeat/filebeat.yml |grep -v "^$"
filebeat.inputs:
- type: log
enabled: true
paths:
- /data/logs/jiuerliu.log
document_type: jiuerliu-log
fields:
tag: yqmirotest
logtype: yqmirotest
exclude_lines: [".*c.b.mybatisplus.mapper.SqlHelper.*"]
multiline.pattern: '^\s*(\d{4}|\d{2})\-(\d{2}|[a-zA-Z]{3})\-(\d{2}|\d{4})'
multiline.negate: true
multiline.match: after
filebeat.config.modules:
path: ${path.config}/modules.d/*.yml
reload.enabled: false
setup.template.settings:
index.number_of_shards: 3
setup.kibana:
output.logstash:
hosts: ["192.168.1.146:5044"]
在 logstash 主机上创建新的 filebeat 配置文件并启动该服务:
logstash配置
[root@test-machine /root]#cat /etc/logstash/filebeat.conf
input {
beats {
port => 5044
type => "logs"
#codec => "json"
}
}
output {
if [fields][logtype] == "czdtest"{
elasticsearch {
hosts => [ "192.168.1.146:9200","192.168.1.60:9200","192.168.1.62:9200"]
index => "czd-test-log-%{+YYYY-MM}"
}
}
if [fields][logtype] == "yqmirotest"{
elasticsearch {
hosts => [ "192.168.1.146:9200","192.168.1.60:9200","192.168.1.62:9200"]
index => "yqmiro-test-log-%{+YYYY-MM}"
}
}
stdout { codec => rubydebug }
}
[root@test-machine /root]#/usr/share/logstash/bin/logstash -f /etc/logstash/filebeat.conf
[2018-11-21T12:29:21,462][INFO ][org.logstash.beats.Server] Starting server on port: 5044
[2018-11-21T12:29:21,479][INFO ][logstash.agent ] Pipelines running {:count=>1, :running_pipelines=>[:main], :non_running_pipelines=>[]}
[2018-11-21T12:29:21,856][INFO ][logstash.agent ] Successfully started Logstash API endpoint {:port=>9600}
一旦 lostash 启动,转到另外两个 Web 主机并启动 filebeat:
[root@template-centos7 /root]#systemctl start filebeat
[root@template-centos7 /root]#systemctl status filebeat
● filebeat.service - Filebeat sends log files to Logstash or directly to Elasticsearch.
Loaded: loaded (/usr/lib/systemd/system/filebeat.service; disabled; vendor preset: disabled)
Active: active (running) since Wed 2018-11-21 12:31:15 CST; 7s ago
Docs: https://www.elastic.co/products/beats/filebeat
Main PID: 11079 (filebeat)
Memory: 7.4M
CGroup: /system.slice/filebeat.service
└─11079 /usr/share/filebeat/bin/filebeat -c /etc/filebeat/filebeat.yml -path.home /usr/share/filebeat -path.config /etc/filebeat -path.data /var/lib/filebeat -pat...
Nov 21 12:31:15 template-centos7 systemd[1]: Started Filebeat sends log files to Logstash or directly to Elasticsearch..
Nov 21 12:31:15 template-centos7 systemd[1]: Starting Filebeat sends log files to Logstash or directly to Elasticsearch....
8. 查看采集结果
头插件和 kibana Web 界面可以查看采集数据:
展开消息以查看详细信息:
至此,构建 ELK+filebeat 采集java 日志的过程已经结束。